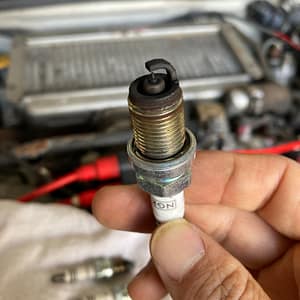
The WRX STI engine won’t start. The starter turns and the engine cranks, but the engine won’t start. First I tried changing the spark plugs, but the engine still wouldn’t start.
1 Tools used and costs
Replaced parts
Spark plugs No. 6, 4 pieces for 6,000 yen

Purchased tools

The cost this time is approximately 7,000 yen.
Tools used
Spark plug wrench, universal joint, extension rod, ratchet
2 This work
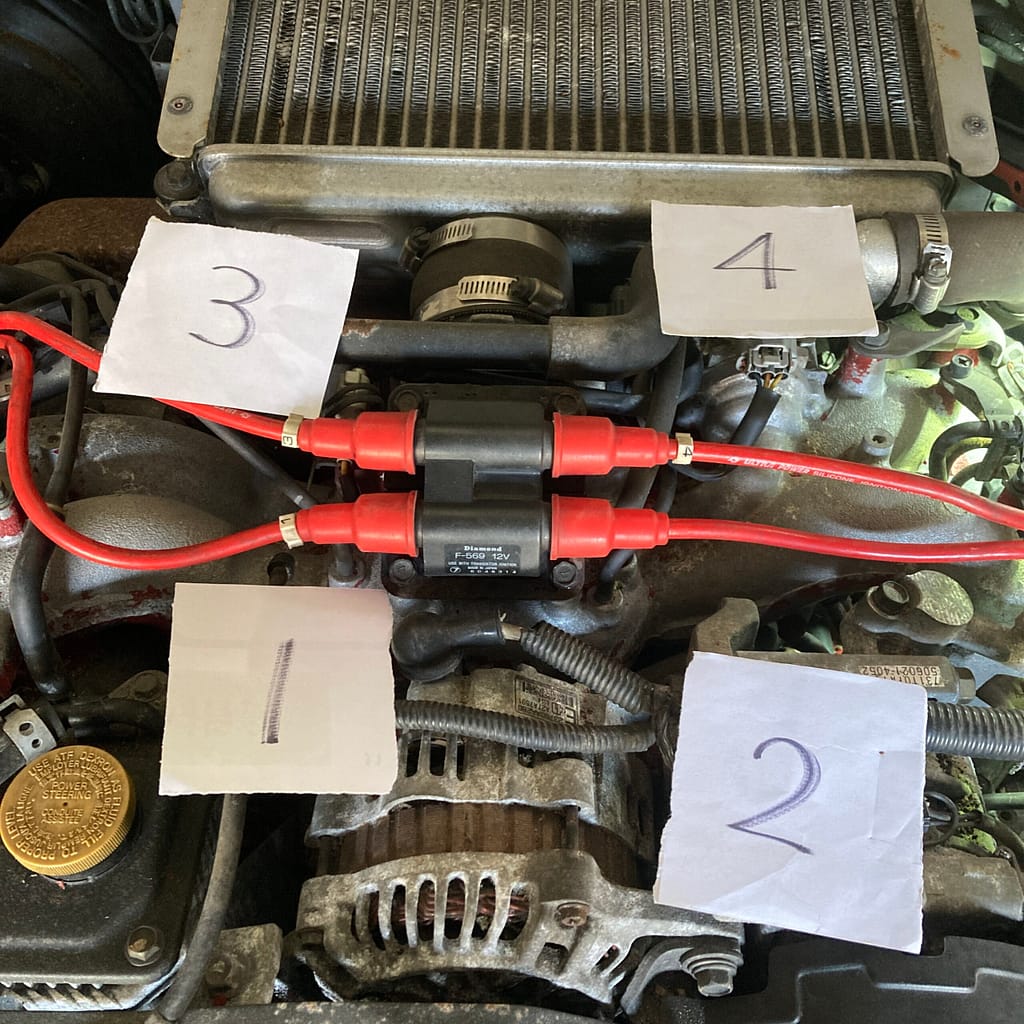
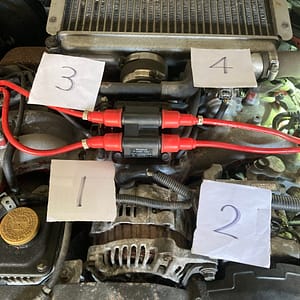
I have a vague memory of changing spark plugs myself a long time ago, but I can’t remember exactly. It goes without saying that changing spark plugs in a horizontally opposed engine is a hassle. I’d never paid much attention to it before, but I decided to look up the cylinder numbers. They start with number 1 in front of the driver’s seat, and are as shown in the photo.
First, remove the intake system parts on the driver’s side.

Next, I used the newly purchased plugs to check if there was a good spark. It was quite difficult to do alone, so I used a camera.
Place the metal part of the plug in contact with the body (so that electricity flows) and turn the cell.
At this time, the old spark plugs will remain inserted in the engine. If you remove them, gasoline may leak out of the plug insertion hole. It is recommended that you disconnect the fuel pump power connector.
Replace the plugs one by one. I think a smaller ratchet is better than a larger one.
For the passenger side, remove the washer tank. I’m clumsy, so I removed as many parts as possible to make room to work. The passenger side is easier to work on than the driver’s side.

People often say to look at the color of the plug, but honestly I’m not very confident. Is it correct to say, “The terminals are there properly, but they’re black, so they’re overlapping”?

I checked the plug wires and replaced the plugs one by one. All four sparked properly, so I knew there was nothing wrong with the electrical system. I put back the parts I had removed to start the engine.
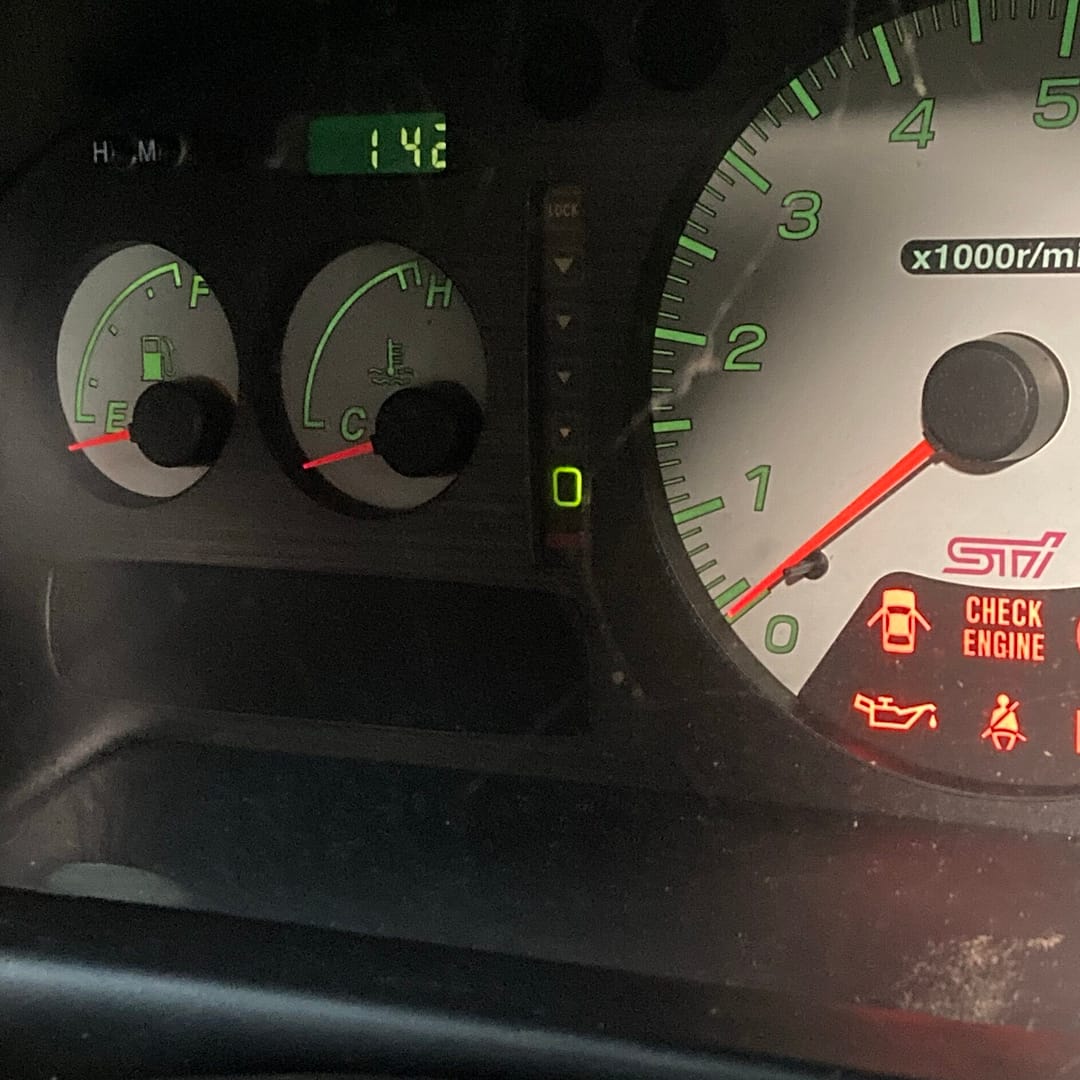
And does the engine start? → It doesn’t start
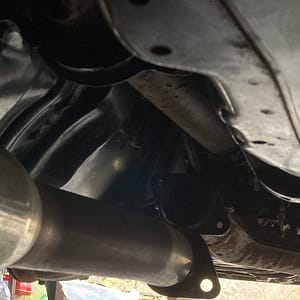
There may be something stuck in the muffler. I removed the muffler and checked the exhaust at the connection between the front pipe and the muffler.
When I turned the starter, a little smoke came out, but the engine wouldn’t start. I turned the starter several times. But the engine still wouldn’t start. It seems like it’s bad for the engine, so I’ll stop here for now.
3 Costs to date and next work schedule
The total cost was about 71,000 yen, including 64,000 yen from last time and 7,000 yen this time.
Next, I will check the fuel system. I have no experience with fuel systems. I am afraid of gasoline, so I will work safely while checking the fuel system.
Thank you for reading.
15年間放置していたWRXSTIのプラグを交換しました。
エンジンが掛からないWRXSTIはセルが回りクランキングはしますがエンジンが掛かりません。最初にプラグ交換をしてみました。でもエンジンはかかりませんでした。
1 使った道具と費用
交換したパーツ
スパークプラグ 6番 4本で6,000円
購入した道具
アストロプロダクツのLEDライト 1,000円
今回の費用は約7,000円です。
使った道具
プラグレンチ、ユニバーサルジョイント、エクステンションロッド、ラチェット
2 今回の作業
昔、DIYでプラグ交換をした記憶がうっすらとあるもののはっきりとは覚えていません。水平対向エンジンのプラグ交換の面倒なことは、書くまでもありません。これまであまり気にしたことがありませんでしたが気筒番号を調べてみました。運転席の前方の1番から始まって写真のようになっています。
まずは運転席側の吸気系のパーツを取り外します。
久しぶりにプラグコードを抜きましたが思いのほか固くて大変でした。逆にしっかりと刺さっている感があって安心しました。最初にテスターを使ってプラグコードが断線していないか確認しました。
次に新しく購入したプラグを使って火花がしっかり飛ぶか確認します。一人ではなかなか大変なのでカメラを使いました。
初めての作業でしたが、プラグの金属部分がボディと接触する(電気が流れるように)おいてセルを回します。
この時に古いプラグはエンジンに挿したままです。抜いてしまうとプラグを挿す穴からガソリンが出てくるかもしれません。なので、新しいプラグ等がなくて既存のプラグを使う場合には、燃料ポンプの電源コネクターを外した方がいいいと思います。
一本ずつプラグを交換していきます。力もそんなに必要ないし、スペース的に大きなラチェットより小さいものがいいと思います。
助手席側はウォッシャータンクを取り外します。不器用な僕は部品をできるだけ外して、作業スペースを確保しました。助手席側は運転席側と比べると作業は楽です。
プラグの色を見るなんてよく言いますが、正直あまり自信がありません。「端子はしっかりとあるけど黒いから被っている」と表現であってますでしょうか?
順次、プラグコードの確認とプラグを交換しました。4本ともしっかりと火花が飛んでくれましたので電気系には異常がないことが判りました。エンジンをかけるために外したパーツを戻します。
そして、エンジンはかかるのか→かかりません
マフラーに何か詰まっている可能性があります。マフラーを外してフロントパイプとマフラーの接続部で排気を確認しました。
そしてセルを回すと煙が少し出ますがエンジンはかかりませんでした。何度セルを回しました。それでも、エンジンはかかりません。今日のところはエンジンに悪そうなのでここまでです。
3 今回までの費用と次回の作業予定
使った費用は前回までの64,000円に今回の7,000円合わせて約71,000円になりました。
次は燃料系をチェックしていこうと思います。燃料系は未経験です。ガソリンは怖いので燃料系を調べながら安全に作業をしていこうと思います。
お読みいただきありがとうございました。
\ 最新情報をチェック /